

To migrate websites, we need to start by transferring the files.
1.TRANSFERRING FILES
If we don’t know where the files are located, the domain directory can be found in cPanel -> Domains, under the "Document root" category.
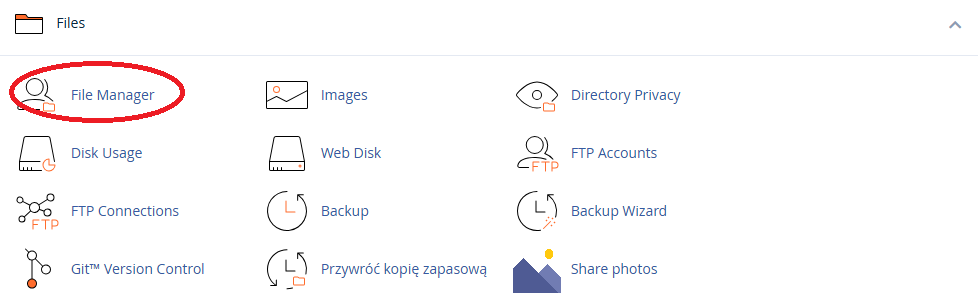
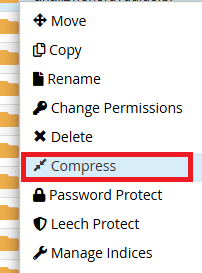
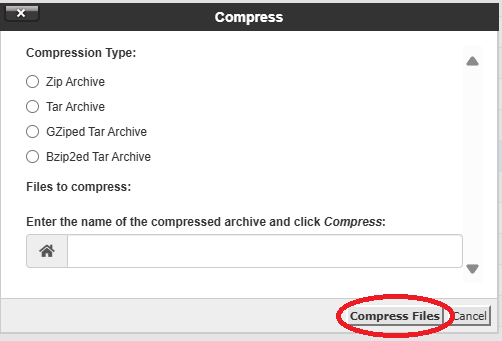
These files should be downloaded via FTP or using the File Manager (select all files, then right-click and choose Compress, wait, then right-click the .zip file and click Download).
If there are too many files, creating a ZIP archive may not be possible – in that case, only FTP is an option.

2. TRANSFERRING THE DATABASE
If the website uses a database (as every CMS does), you need to find out which database the site uses. For WordPress, this can be done by opening the wp-config.php file. For Joomla! – the configuration.php file. Look for the line:
/** The name of the database for WordPress */
define( 'DB_NAME', 'username_yourdatabasename' );

For other CMS platforms, find the configuration file and locate the line that defines the database name.
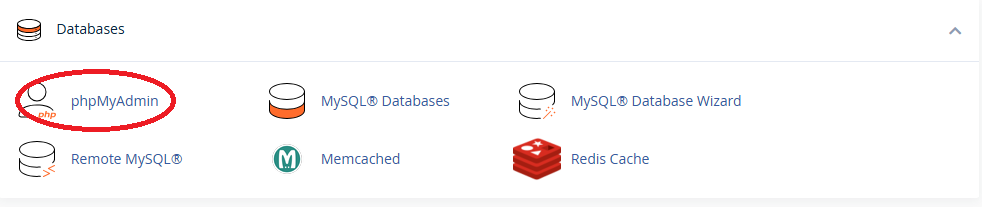
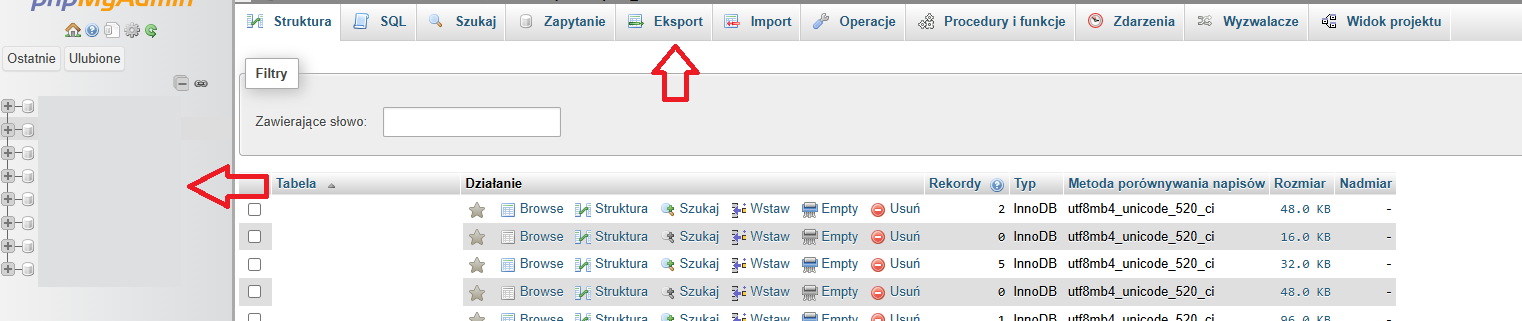
Then, go to phpMyAdmin, click on the appropriate database, go to the Export tab, and confirm the export.
3. TRANSFERRING THE SSL CERTIFICATE
If the website has an SSL certificate, and you don’t already have the certificate (CRT file) and the private key (KEY file), you can retrieve them from cPanel. Go to the SSL/TLS section, then to Manage SSL sites. Find the appropriate domain, click "Use certificate for new site" – the fields will populate automatically. Save the contents of the CRT and KEY fields.

4. Once the files and database are ready, you can detach the domain from the source hosting
(Detaching the domain will result in all email inboxes on the old hosting being deleted.)
5. Add the domain to the new hosting by creating a separate directory for it within public_html
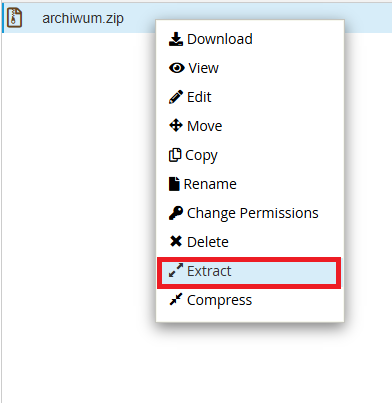
6. Upload the website files via FTP to the domain directory on the new hosting, or if you have a .zip file, go to cPanel, open the File Manager, click Upload (to upload the file), then right-click the .zip and select Extract to unpack it

7. Add a new database and user in cPanel, in the MySQL Databases section, and assign the user to the database: How can I create a database? - Help | WEBD.PL
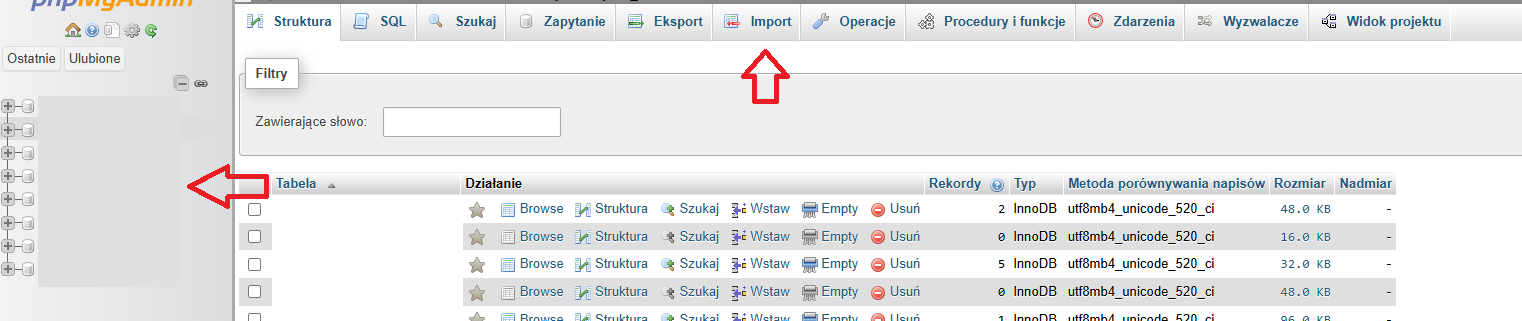
8. Go to phpMyAdmin, select the created database, and click Import
9. Next, edit the database configuration file, such as wp-config.php (or configuration.php), by updating the database name and user. If the new user has a different password, update that as well.
The configuration file usually contains the following four settings:
line containing HOST – enter mysqlhost
line containing USER – the name of the user assigned to the database
line containing DB or DBNAME – the name of the database created in cPanel
line containing PASS or PASSWORD – the password for the user with database privileges
The website should start working within up to 4 hours (changing the hosting involves updating the A record of the domain, which requires propagation time).